Ever wondered how to draw a teddy bear but didn’t know where to start? Drawing a teddy bear can be super fun and easy if you follow the right steps. Whether you're a beginner or just looking to improve your skills, this guide is packed with tips, tricks, and techniques to help you create your own cuddly masterpiece. Let’s dive in and bring your artistic dreams to life!
There’s something magical about teddy bears. They’re not just toys; they’re symbols of comfort, love, and childhood nostalgia. Learning how to draw a teddy bear is like capturing a piece of that magic on paper. And don’t worry if you think you’re not a “natural artist” – practice makes perfect, and this step-by-step guide will make it feel like second nature.
Before we get started, let’s talk about why learning how to draw a teddy bear is such a cool skill. Not only does it boost your creativity, but it also helps you develop patience and focus. Plus, once you master the basics, you can customize your teddy bear drawings to reflect your unique style. Ready to grab your pencil and paper? Let’s go!
Read also:81 Bay Brewing Company Your Goto Spot For Craft Beer Excellence
Table of Contents
- Introduction to Drawing Teddy Bears
- Materials You’ll Need
- Start with Basic Shapes
- Add Body Details
- Draw the Face Features
- Shading Techniques
- Customizing Your Teddy Bear
- Tips for Beginners
- Avoid These Common Mistakes
- Conclusion and Next Steps
Introduction to Drawing Teddy Bears
Drawing a teddy bear might seem intimidating at first, but trust me, it’s way easier than you think. The key is breaking down the process into smaller steps. Think of it like building a puzzle – each piece adds to the final picture. In this section, we’ll cover the basics and set the foundation for your drawing journey.
Why Teddy Bears Are So Popular
Teddy bears have been around since the early 1900s, and their charm hasn’t faded one bit. They represent warmth, kindness, and friendship. When you learn how to draw a teddy bear, you’re not just creating art – you’re connecting with a timeless tradition. Plus, who doesn’t love a cute, fuzzy bear?
Materials You’ll Need
Before we jump into the drawing process, let’s talk about the tools you’ll need. You don’t need fancy supplies to get started – just the basics will do. Here’s what you’ll need:
- Pencil (HB or 2B works great)
- Eraser (a soft kneaded eraser is ideal)
- Sketchbook or plain paper
- Colored pencils or markers (optional)
- Blending tools like cotton swabs or tortillons (if you want to add shading)
Pro tip: Keep your workspace clean and organized. It helps you stay focused and avoid distractions.
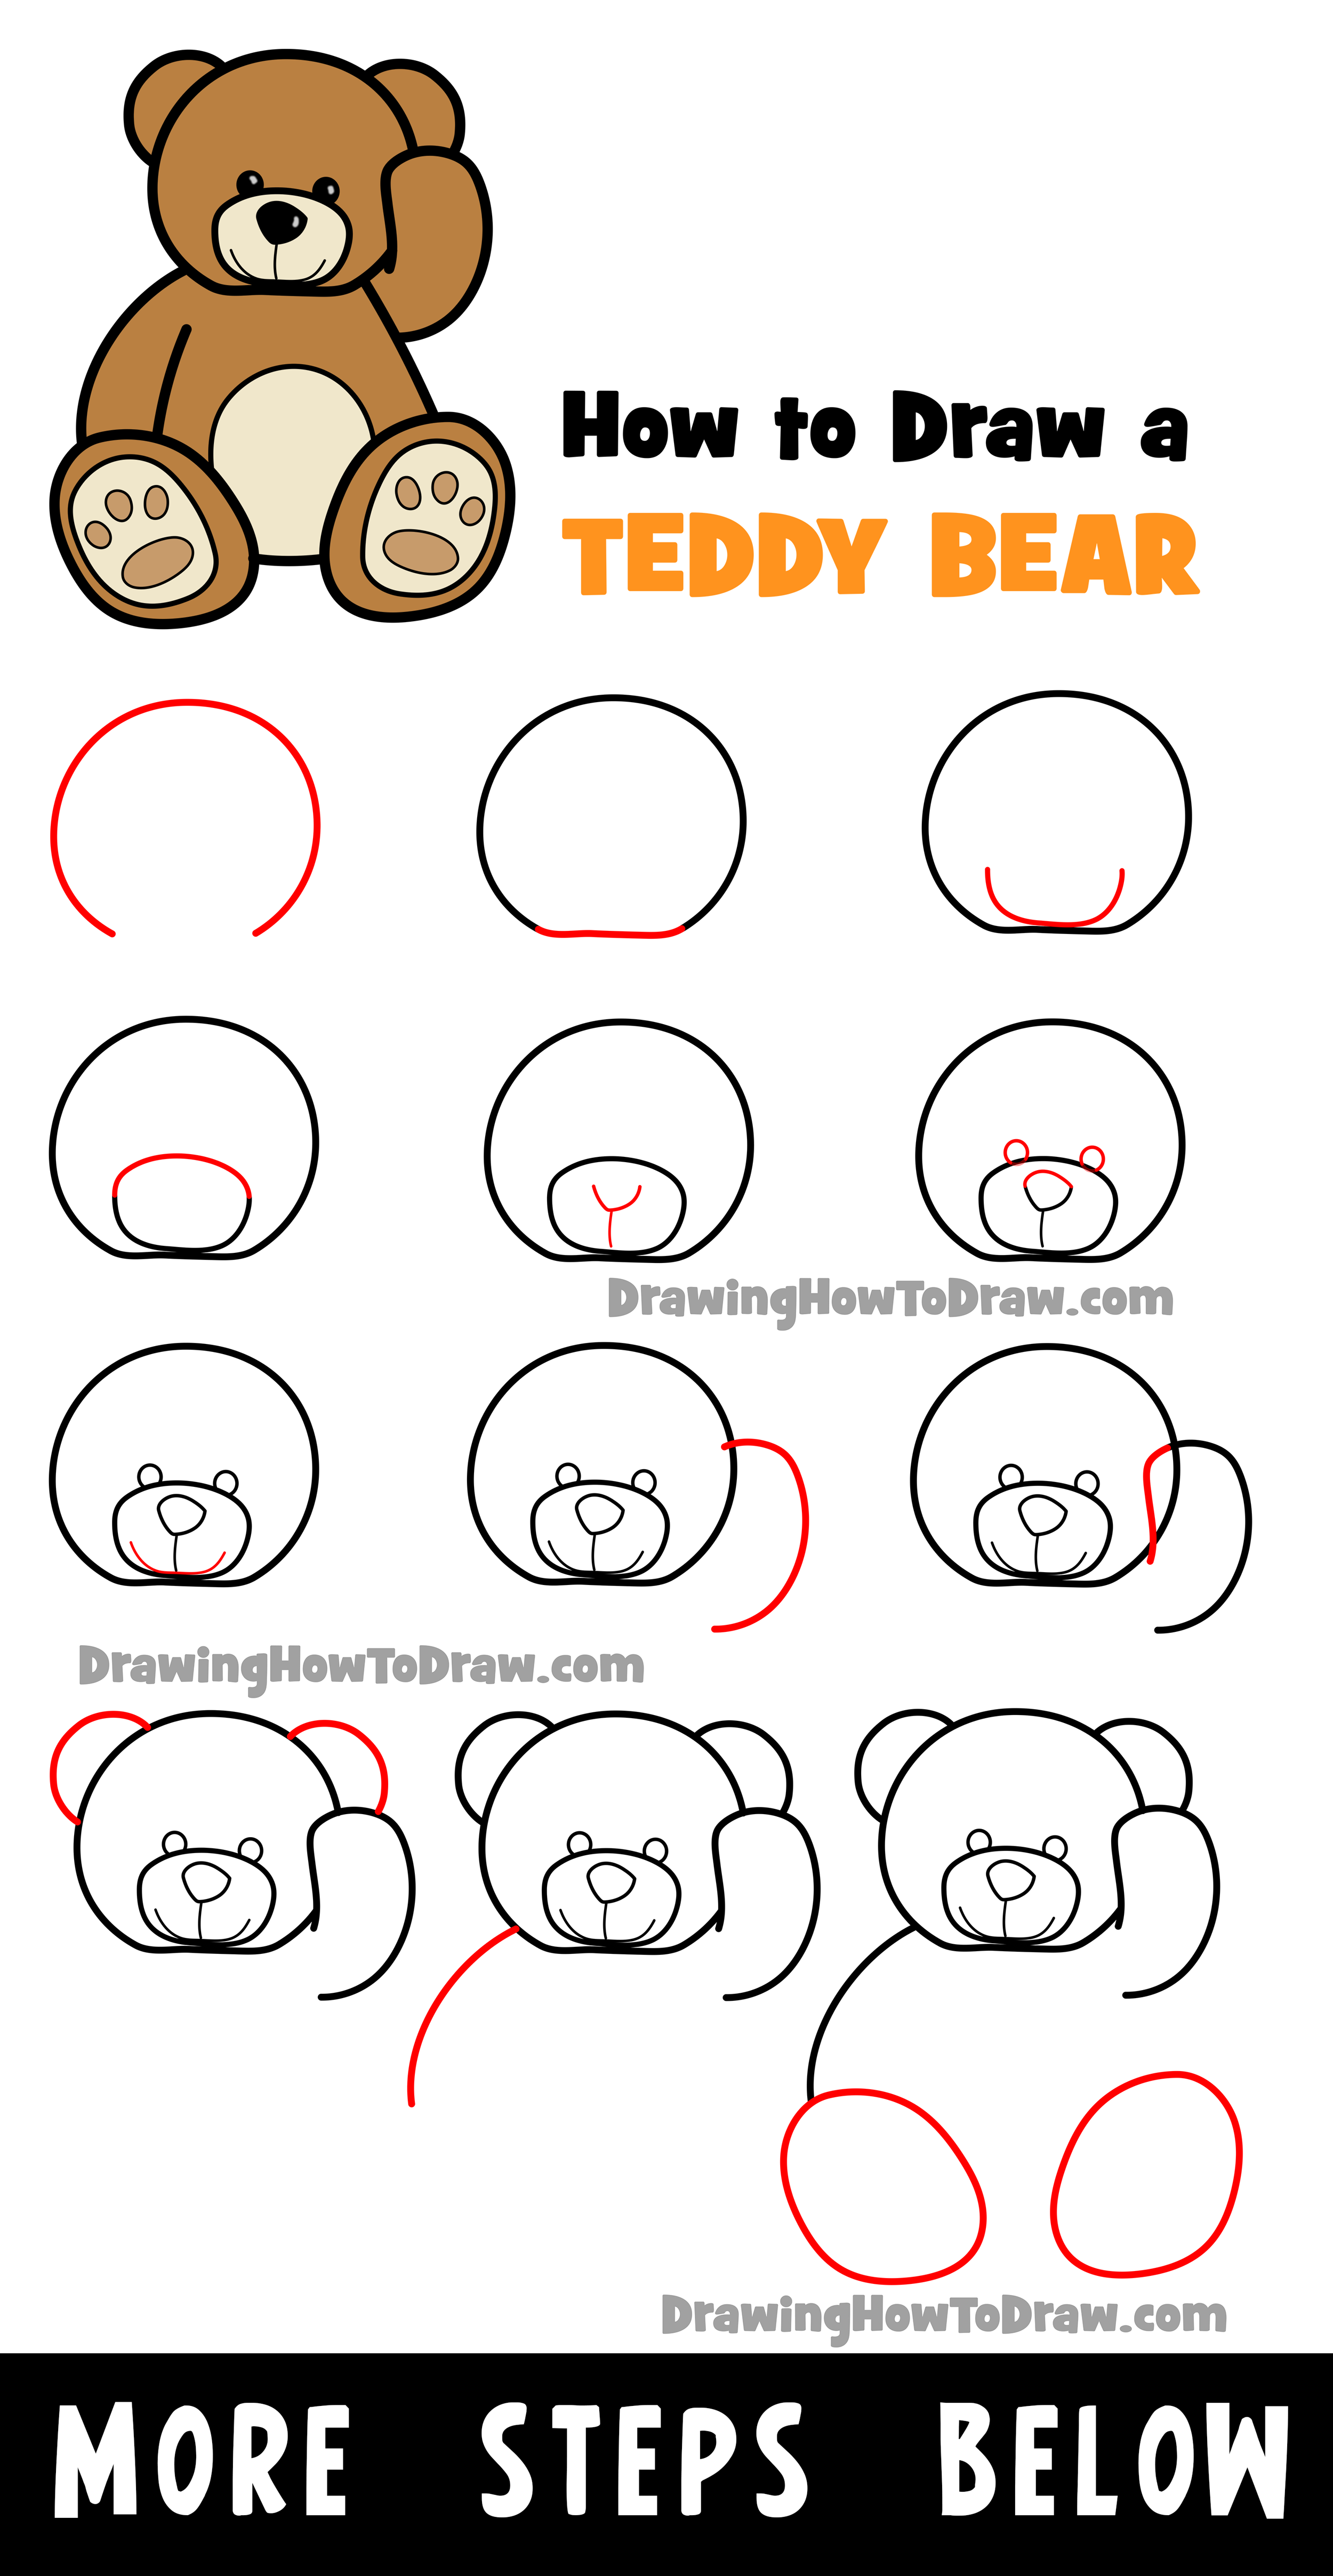
Start with Basic Shapes
Every great drawing starts with basic shapes. For a teddy bear, you’ll want to focus on circles, ovals, and rounded rectangles. These shapes will serve as the foundation for your bear’s body, head, and limbs.
Step 1: Draw the Head
Begin by sketching a large circle for the head. Make sure it’s slightly wider at the bottom to give your teddy bear that adorable chubby look. Don’t worry about perfection – imperfections add character!
Read also:Care For The Children Curb Painting A Creative Way To Keep Kids Safe
Step 2: Add the Body
Next, draw an oval or rounded rectangle below the head for the body. This shape should be a bit bigger than the head to create a balanced silhouette. Remember, teddy bears are all about curves and softness.
Add Body Details
Now that you’ve got the basic shapes down, it’s time to add some details. These small touches will bring your teddy bear to life. Let’s break it down:
Legs and Arms
- Draw two rounded rectangles for the arms, connecting them to the sides of the body.
- For the legs, sketch two slightly larger rounded rectangles at the bottom of the body.
- Add tiny paws at the ends of the arms and legs for that extra cuteness factor.
Tail and Ears
- Create small ovals on top of the head for the ears. These should be proportional to the head size.
- Sketch a tiny tail at the back of the body. It doesn’t have to be perfect – just enough to give your bear some personality.
Draw the Face Features
A teddy bear’s face is what gives it its unique charm. Pay attention to the placement and proportions of the eyes, nose, and mouth. Here’s how you can create a cute and expressive face:
Step 1: Eyes
Draw two small circles or ovals for the eyes, placing them slightly above the middle of the head. Add tiny dots in the middle for pupils. If you want your bear to look extra happy, tilt the eyes slightly upward.
Step 2: Nose
Sketch a small triangle or heart shape below the eyes for the nose. Keep it simple and symmetrical.
Step 3: Mouth
For the mouth, draw a curved line below the nose. You can make it a smile, a neutral expression, or even a playful grin. Experiment with different shapes to see what works best for your bear.
Shading Techniques
Shading adds depth and dimension to your drawing, making it look more realistic. Here’s how you can incorporate shading into your teddy bear:
Use Light and Dark Areas
- Identify where the light source is coming from and shade accordingly. For example, if the light is coming from above, the bottom parts of the bear will be darker.
- Use your pencil lightly for soft shadows and press harder for darker areas.
Blend for Smooth Transitions
- Use a blending tool like a cotton swab or tortillon to smooth out the transitions between light and dark areas.
- Focus on blending around the edges of the bear’s body and limbs for a more polished look.
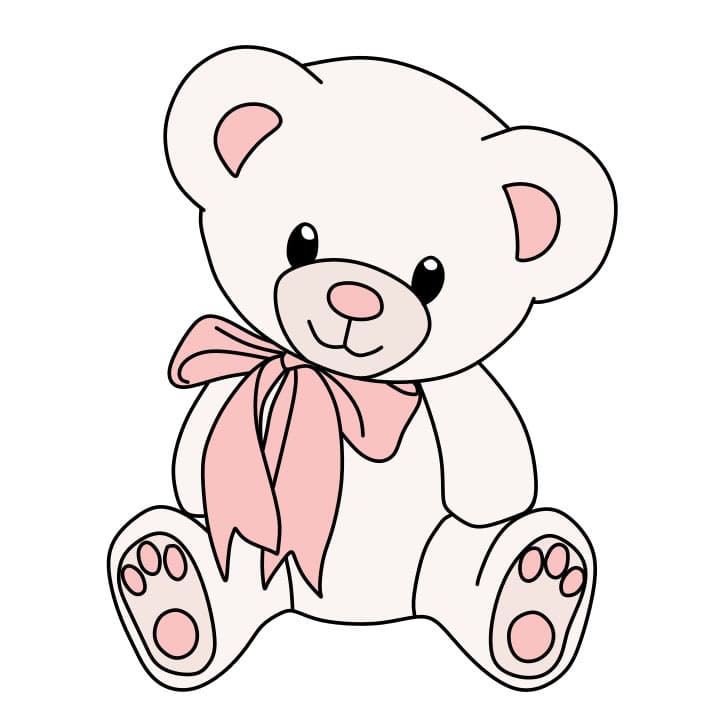
Customizing Your Teddy Bear
Once you’ve mastered the basics, it’s time to let your creativity shine. Here are some ideas to customize your teddy bear:
- Add accessories like bows, scarves, or hats.
- Experiment with different colors and patterns.
- Create a background scene, like a forest or a bedroom, to make your drawing more dynamic.
Tips for Beginners
Here are a few tips to help you improve your drawing skills:
- Practice regularly – even 10 minutes a day can make a huge difference.
- Study real teddy bears or photos to understand their anatomy and proportions.
- Don’t be afraid to make mistakes – they’re part of the learning process.
Avoid These Common Mistakes
Even experienced artists make mistakes sometimes. Here are a few things to watch out for:
- Over-shading – too much darkness can make your drawing look flat.
- Forgetting proportions – make sure all the parts of your bear are in proportion to each other.
- Skipping details – small details can make a big impact on the overall look of your drawing.
Conclusion and Next Steps
Learning how to draw a teddy bear is a fun and rewarding experience. By following this step-by-step guide, you’ve gained the skills and confidence to create your own adorable masterpieces. Remember, practice is key, and every drawing you complete brings you one step closer to becoming a pro.
So, what are you waiting for? Grab your pencil and start drawing. And don’t forget to share your creations with the world – who knows, you might inspire someone else to pick up a pencil and join the fun!
Feel free to leave a comment below if you have any questions or want to share your progress. Happy drawing!